The idea of DIY floor sanding might sound like a perfect weekend project, but should you really roll up your sleeves?
Before you grab that sander, it’s a good idea to think through all the factors and costs involved. We’ll walk you through what it takes and show you the real differences between DIY floor sanding and hiring professionals. You’ll see how costs, time investment, quality results, and potential risks stack up to help you make the best choice for your home and avoid expensive mistakes
Understanding DIY Floor Sanding
Floor sanding looks simple but needs the right prep and tools if you want to do it yourself.
Tools and Equipment You’ll Need
DIY floor sanding needs specialised equipment. You’ll need a drum sander to handle large areas and an edging sander to reach corners and borders where the drum sander won’t fit. Here’s what else you should have:
- Various grits of sandpaper (start with coarse 36-40 grit, move up to fine 100-120 grit)
- Vacuum cleaner with dust extraction capability
- Protective gear (respirator, safety goggles, ear protection)
- Hammer and nail punch to sink nails below the wood surface
Can You DIY Floor Sanding Without Prior Experience?
Floor sanding without experience is tough. The machines need skill to handle well, and they can easily damage your floors if you don’t know what you’re doing. The tools might look simple, but getting professional results means knowing how to work with different flooring surfaces. All the same, dedicated DIYers can finish the project with patience and careful attention to instructions. Just know it will take much longer than a professional job.
Common Mistakes First-Timers Make
New sanders often make mistakes that get pricey. They sand unevenly and create visible “smiles” or divots in the floor. Some use the wrong equipment or skip proper preparation. Starting with sandpaper that’s too fine is another issue – it clogs fast and won’t remove old finishes well. Beginners also tend to keep using worn-out sandpaper or sand against the wood grain, which leaves deep scratches that are hard to fix.
Physical Demands and Safety Concerns
Floor sanding is hard physical work. Even pros find the sanders heavy and difficult to lift alone. The job creates lots of dust that can harm your lungs and trigger asthma, meaning good ventilation and safety gear aren’t optional.
What Professionals Bring to the Table
Professional floor sanders offer clear advantages that DIY approaches can’t match.
Expertise in Timber Types and Finishes
Floor sanding experts have deep knowledge of timber types and finishing techniques. Many professionals complete specialised training that helps them spot problems before they happen and know exactly how to treat delicate or heritage floors.
Advanced Equipment and Dust Control Systems
Professional-grade sanders deliver better results than rental machines. Experts also employ industrial dust extraction systems that capture most of the harmful particles.
Speed and Efficiency of Professional Teams
Professional teams work much faster than DIY attempts. Skilled technicians can finish a job in 1-2 days that might take an amateur weeks to complete.
Post-Service Support
Professionals are a great way to get guidance on floor maintenance that extends your investment’s life, and they stay available for support if you need help later.

Side-by-Side Comparison: DIY vs Professional
You need to think over several important factors before choosing between DIY and professional floor sanding. Let’s look at the clear differences between these two approaches.
Cost Breakdown: Equipment Rental vs Service Fee
DIY sanding equipment rental costs range up to $1400 for a standard home project. The upfront savings look good compared to professional services, but unexpected costs pop up. After you add sandpaper, finishes, safety equipment, and possible repair costs from mistakes, the price gap shrinks by a lot. DIY errors often need professional fixes, which end up costing more than hiring experts from the start.
Time Investment: 3 Days vs 1 Day Completion
DIY projects take 3-5 times longer than professional work. A typical 100 square meter project needs 2-3 full days just for sanding if you do it yourself. The same job takes professionals only 6-8 hours to sand.
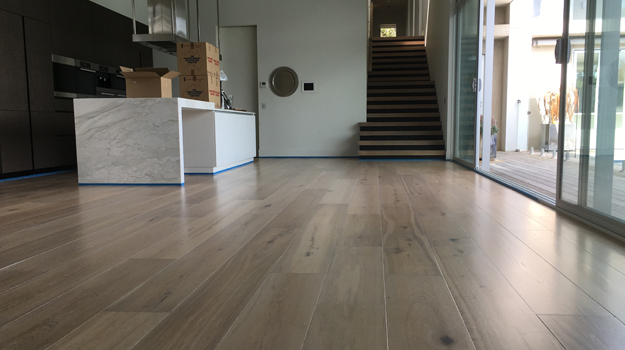
Finish Quality: Risk of Swirl Marks vs Flawless Finish
DIY attempts usually leave visible flaws. You’ll often see drum marks from uneven pressure, swirl patterns from wrong techniques, and uneven textures. These problems usually need complete re-sanding. Professional sanders deliver smooth, even finishes that bring out your floor’s natural beauty.
Health and Safety: DIY Exposure vs Pro Dust Extraction
Professional sanders use industrial-grade dust extraction systems that catch up to 99% of harmful particles. DIY projects put your family at risk without these specialised systems.
Environmental Impact: Eco-Friendly Products Used by Pros
Professional services use environmentally responsible practices to protect your home and reduce environmental impact. Many use low-VOC finishes that meet strict air-quality standards.

Which Option Suits Your Project Best?
Not all floor sanding projects are the same – your situation will help determine the best path forward. Let’s look at which option might be right for you.
Small Rooms or Touch-Ups: DIY Might Work
A DIY approach could work for spaces under 20 square meters or minor touch-ups. You can save hundreds of dollars by doing a single room yourself if you do it right. Getting quality products from Quicksand Supplies will give you the best results.
Large or High-Traffic Areas: Go Pro
Projects over 20 square metres become much harder for DIYers to handle. High-traffic areas also need perfect finishing to hold up against constant use. Professional teams work faster on larger areas and can finish the job much quicker than a DIYer.
Delicate or Heritage Floors: Always Hire a Pro
Only professionals have the specialised knowledge and techniques heritage floors need. These delicate surfaces require careful handling and the right tools to preserve their historical character. You risk permanent damage to valuable antique flooring by attempting a DIY wooden floor repair.
Tight Deadlines or Rental Properties: Choose Efficiency
Professional efficiency is a great way to get results when time is short. Rental properties really benefit from quick completion times, and professional teams can work faster without cutting corners. Specialised equipment and quick-drying finishes mean less disruption overall.
| DIY Floor Sanding | Professional Service | |
| Cost | $700-1,400 for equipment rental | $50-$90+ per square meter |
| Time Required (100m²) start to finish incl. coating | 5-7 full days | 2-3 days |
| Equipment Quality | Simple rental equipment | Professional-grade sanders with industrial dust extraction |
| Common Issues | – Drum marks from uneven pressure- Visible swirl patterns- Uneven textures- Risk of complete re-sanding | Minimal to none with experienced professionals |
| Health & Safety | Limited dust control; high exposure to harmful particles | Advanced dust extraction systems |
| Physical Demands | Heavy equipment handling; physically demanding work | Handled by trained professionals |
| Support | None | Ongoing maintenance support |
Make the Right Choice For Your Project
The choice between DIY and professional floor sanding comes down to your project’s size, complexity, and priorities. DIY sanding might save you money upfront, especially in small rooms, but the costs quickly pile up once you factor in equipment, materials, and the time it can take.
If you’re keen to tackle a small project by yourself, Quicksand Supplies has quality materials to help you get the best possible DIY results. But if you want to go with the pros, you’ve come to the right place.
Our experts at Quicksand Flooring have years of experience with different timber types. Our team can finish projects much faster than DIY attempts, and you’ll have the added benefit of warranties and ongoing support.
Get a free estimate and give your timber floors the proper care and attention they deserve.
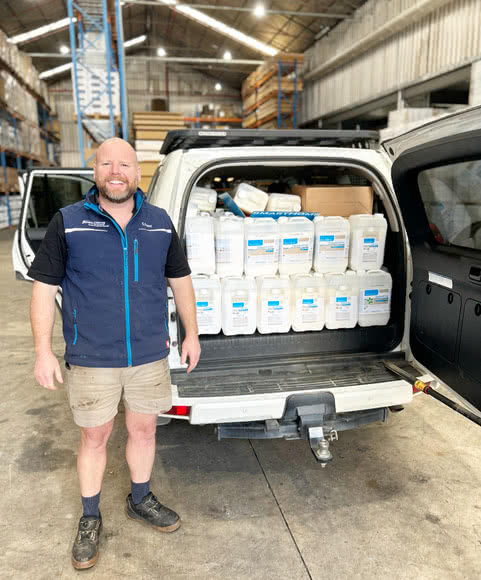
With over 25 years of experience, Clinton Tracy is a Melbourne timber flooring expert dedicated to delivering exceptional results. He and his team constantly test new products and finishes to ensure the highest quality.
Clint’s commitment to excellence includes traveling to Europe to stay updated with the latest industry trends and best practices, ensuring every project meets the highest standards.