Wondering how much it costs to sand and polish floorboards? The short answer is: it depends. Factors like your floor’s condition, the size of the area, and the type of finish you choose all affect the final price.
For example, sanding and polishing a small bedroom will cost far less than an entire 3 bedroom house. The type and brand of finish you choose also affects the price. Solvent-based polyurethane is generally the most budget-friendly, while premium finishes, like Blanchon Iceberg, offer unique aesthetic benefits while sitting at the higher end of the price range.
There’s no one-size-fits-all quote, but this guide will help you understand the typical Melbourne floor sanding and polishing cost per square metre and what to expect from the process.If you want a free quote, call us today on 0451 326 307!
What’s Included in Our Floor Sanding Price?
At Quicksand Flooring, our standard pricing includes:
- Punching all nails and puttying over holes
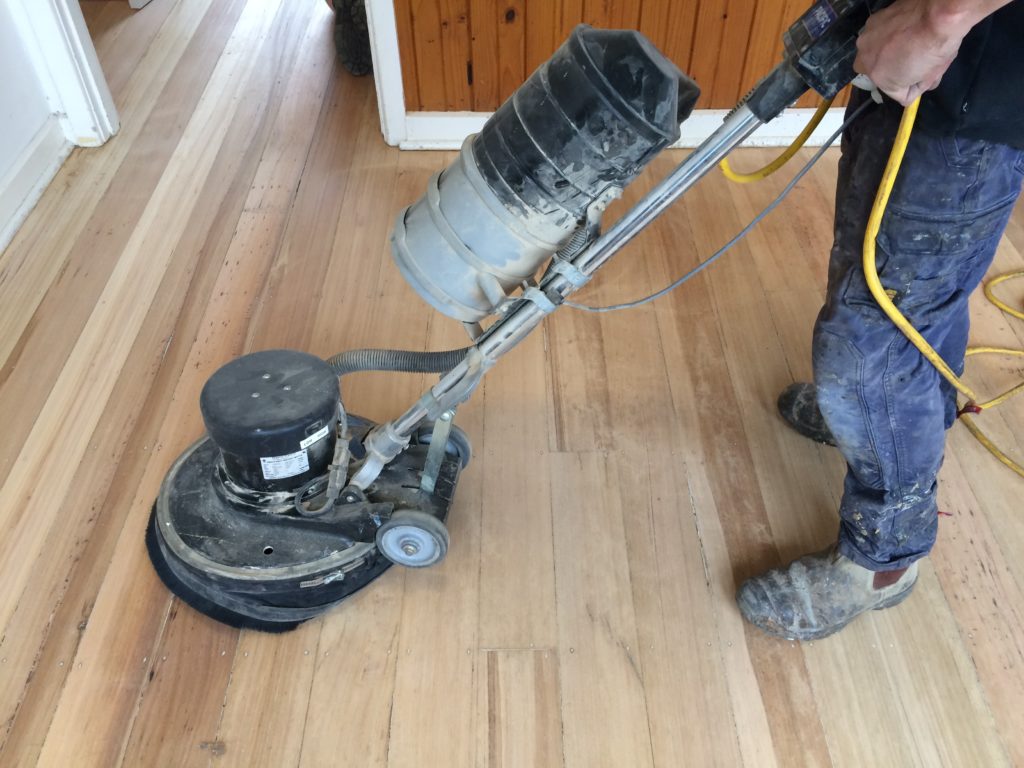
- Sanding back to bare timber (rough, medium & fine sanding)
- Application of three coats of premium, European-made water-based polyurethane
- Choice of finish: semi-gloss, satin, or ultra-matte
- A non-toxic, low-VOC product that’s safe for families and pets
Note: Pricing is charged per square metre, please call us on 0451 326 307. Once your job is booked, an accurate onsite measure will be taken before work begins to confirm final pricing.
Optional Add-Ons & Special Treatments
We also offer:
- Blanchon Iceberg finish – a water-based polyurethane with a subtle white pigment, perfect for light-toned timbers like Tasmanian Oak, European Oak, and Pine. This keeps floors looking pale and neutral by reducing warm undertones.
- Trowel filling of large gaps – This service is not included in standard pricing. If your floor requires gap filling, please let us know so we can assess its suitability and provide a tailored recommendation.
What Affects Floor Sanding and Polishing Cost Per Square Metre?
1. Floor Size and Layout
Open-plan areas are more cost-effective to sand than tight hallways, staircases, or rooms with built-in furniture, which often require time-intensive hand-sanding.
2. Floor Condition & Repairs
Floors with damage, cupping, old glue, or pet stains may need more prep work, which adds to labour time and cost.
3. Carpet uplift & removal
Yes we can get rid of any carpet currently down over your timber flooring. This service is an extra cost but also includes removal of all staples, nails & gripper as well as taking the removed carpet off site and disposal.
4. Gap Filling
Certain types of floors qualify for gap filling. This includes parquetry (small gaps of 1-2mm) or any large, hazardous gaps (3-15mm). We will assess your floor and advise accordingly if this is something we are able to quote on.
Understanding these factors helps explain the variation in floor sanding and polishing cost per square metre and gives you a clearer idea of what’s right for your home. To get a rough estimate, simply measure the square metreage of your floors. We’ll confirm exact figures before work begins, and if you’re unsure how to calculate it, we’re happy to help.

Preparing for the Job
Preparing properly for your floor sanding project will save time and avoid delays. Understanding the costs and what to expect ensures a smooth process from quote to completion.
What to Expect from our free estimates
Once we receive your initial enquiry, one of our qualified team members will be in touch to get some further information. All quotations can be done either via email or phone, no need for an onsite inspection! We will usually ask you to send through some photos of your space, including any specific areas of concern. We will also need your physical address to look up your floor plan online and get some sizing of the rooms to quote accordingly – all our quotes work on square meterage.
From there we will be able to give you an initial cost of the job. Once you have ensured that this suits your budget and needs we can move forward with supplying dates to book your job into our diary.
If you prefer having an onsite assessment this can be arranged. Kindly note that a small call out fee will apply. This will then get deducted from your deposit invoice once your job has been booked in.
How to Prepare Your Home Before Sanding
To ensure a safe and efficient job, please complete the following before our arrival:
- Remove all furniture and personal items from the areas to be sanded.
- Complete all painting (except the final coat on skirting boards) as sanding equipment may come into contact with them.
- Ensure the main house power is connected. We cannot use temporary power sources or builder’s boxes due to the load required for our sanding machines.
- Disconnect any electrical or gas appliances.
- Seal fireplaces, vents, or ducted openings with masking tape to reduce the spread of fine dust.
- Cover or remove fragile items like artwork or electronics, while dust is minimal, extra care is always best.
Please note: While every care is taken to protect your home, some skirting boards or wall sections may require light touch-ups once the job is complete.
We also love sharing our work! We may take photos or short videos during your project to feature on our social media. Let us know if you have any concerns.
Do You Need to Move Out During the Process?
Whether you need to vacate the home depends on your choice of floor finish:
- Water-based polyurethane: These finishes have minimal odour and allow you to stay in your home, though it may be more convenient to vacate if large living areas or walkways are being done.
- Solvent-based polyurethane: Due to strong fumes, you’ll need to leave the property for at least 7 days, sometimes up to two weeks, depending on ventilation. If you have a multi-storey home with sealed levels, staying might still be possible.
At Quicksand Flooring we only use water-based polyurethane.
Timeline and Drying Period
- After 12-24 hours – walk on (socks only)
- After 48-72 hours – furniture can be placed back
- If possible, keep any furry friends off the floor for 72 hours
- No placing rugs back for 10 days
- No washing the floor for 10 days
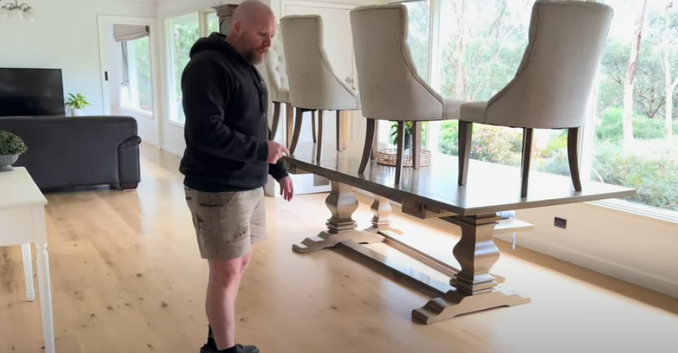
See Our Work
Want to see real project outcomes?
Check out our Instagram: @quicksandflooring and YouTube channel: @QuicksandFlooring
We regularly post before-and-after transformations, finish comparisons, and client projects.
Aftercare Tips to Keep Your Timber Floors Looking Their Best
Proper aftercare is essential to maintain the beauty and longevity of your newly sanded timber floors. Here are some simple tips to help protect your investment:
- Sweep or vacuum regularly – Keep dirt, dust, and debris at bay to avoid scratches. Be sure to use a vacuum head that’s safe for timber floors.
- Clean spills immediately – Wipe up any spills with a clean, damp cloth. Avoid excess water, as it can seep into the timber and cause damage.
- Protect with felt pads – Attach felt pads to the legs of your furniture to prevent scuffs and scratches. You can grab our Flexi-Felt pads from our online store.
- Use timber-safe cleaners – Choose a cleaner made specifically for timber floors. Stay away from harsh chemicals or overly wet mops.
- Skip the steam mop – Steam can damage your floor’s finish and the timber itself, so it’s best avoided.
- Avoid shoes indoors – High heels and grit caught under shoes can cause scratches. Going barefoot or wearing soft indoor footwear is best.
- Trim pet nails – Keep your pets’ nails short to reduce the risk of dents and deep scratches.
For long-term care, check out our premium range of cleaning and maintenance products available at our online store (Quicksand Supplies).
Ready to Restore Your Timber Floors?
We’re here to help with expert advice and personalised quotes. If you’re refreshing tired boards or planning a full renovation, we’d love to help bring your floors back to life.
Contact Quicksand Flooring today for a free quote!
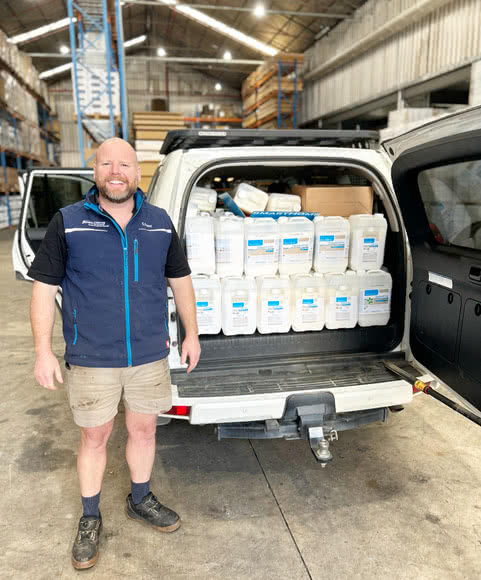
With over 25 years of experience, Clinton Tracy is a Melbourne timber flooring expert dedicated to delivering exceptional results. He and his team constantly test new products and finishes to ensure the highest quality.
Clint’s commitment to excellence includes traveling to Europe to stay updated with the latest industry trends and best practices, ensuring every project meets the highest standards.